


Table of Contents
Installing a new roof is a significant investment and a crucial project for the structural integrity of your home. Whether you’re replacing an old roof or building a new one, understanding the process can help you ensure everything is done correctly. In this guide, we’ll walk you through the step-by-step process of roof installation, focusing on essential details and considerations. This guide is particularly useful for homeowners in Manchester, UK, given the specific weather conditions and local building codes.
Preparation and Planning
1. Initial Inspection
Before starting any roofing project, a thorough inspection of the existing roof structure is necessary. This helps identify any underlying issues that need to be addressed before installation.
2. Choosing the Right Materials
Selecting the right roofing materials is critical for durability and performance. Consider materials like asphalt shingles, metal roofing, and slate tiles. Each material has its benefits and is suited to different budgets and aesthetic preferences.
Related Article: Finding the Best Roofing Contractor in Manchester, UK
3. Obtaining Permits
Ensure you have all the necessary permits required by local building codes in Manchester. This step is crucial to avoid any legal complications down the line.
Step-by-Step Roof Installation Process
1. Removing the Old Roof
The first step in installing a new roof is to remove the old one. This involves stripping away old shingles, underlayment, and any damaged decking. Proper disposal of old materials is essential to keep the worksite clean and safe.
2. Inspecting the Roof Deck
Once the old roof is removed, inspect the roof deck for any damage. Replace any rotten or weak sections to ensure a solid foundation for the new roof.
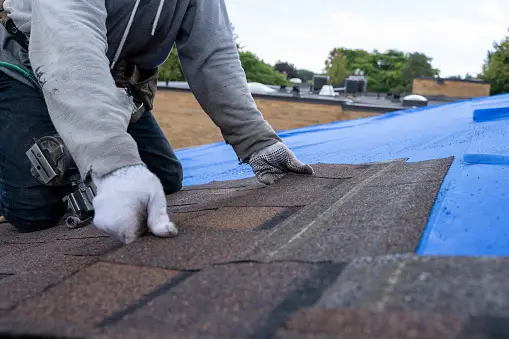
3. Installing the Underlayment
The underlayment is a critical layer that provides additional protection against water infiltration. Install the underlayment over the entire roof deck, ensuring it is smooth and wrinkle-free.
4. Installing the Drip Edge
A drip edge is a metal flashing installed along the edges of the roof to direct water away from the fascia and into the gutters. This helps prevent water damage to the underlying structure.
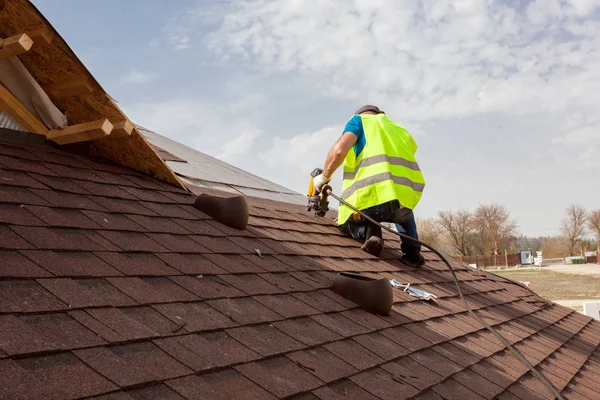
5. Installing the Roofing Material
This step varies depending on the chosen roofing material:
- Asphalt Shingles: Start from the bottom and work your way up, overlapping each row.
- Metal Roofing: Attach metal panels from the eaves to the ridge, ensuring a tight fit.
- Slate Tiles: Lay tiles in a staggered pattern, securing each with nails or clips.
6. Flashing Installation
Flashing is installed around roof features such as chimneys, vents, and skylights to prevent water from seeping in. Proper flashing installation is crucial to prevent leaks.
7. Installing Ridge Vents
Ridge vents are installed at the peak of the roof to allow proper ventilation. This helps regulate attic temperatures and prevents moisture buildup, extending the life of your roof.
8. Final Inspection and Cleanup
After the roofing material and all components are installed, conduct a final inspection to ensure everything is secure and properly installed. Clean up the worksite, removing any debris and leftover materials.
Maintenance Tips
Regular maintenance is essential to prolong the life of your roof. Here are some tips:
- Inspect Annually: Conduct a yearly inspection to check for any signs of damage.
- Clean Gutters: Ensure gutters are free of debris to prevent water backup.
- Address Repairs Promptly: Fix any issues as soon as they arise to prevent further damage.
Conclusion
Roof installation is a complex process that requires careful planning and execution. By following this step-by-step guide, you can ensure your new roof is installed correctly, providing long-lasting protection for your home. For professional assistance, consult with a trusted roofing contractor.
Ready to start your roofing project? Contact us today for a free consultation and quote.
For more detailed guidance, explore our Ultimate Guide to Finding the Best Roofing Contractor in Manchester, UK.